How to Bury Fiber Optic Cable Yourself?
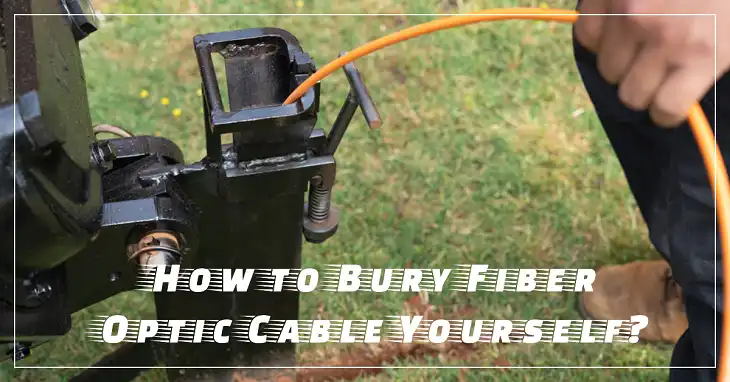
Burying fiber optic cable is a meticulous process that ensures reliable and high-speed internet connectivity over long distances. Whether you’re installing for a residential property, a commercial space, or a broader network, there are specific methods and standards that must be followed. In this DIY blog post, we’ll explore how to properly bury fiber optic cable, covering everything from selecting the right cable to digging the trenches and ensuring long-term durability.
What Type of Fiber Optic Cable Should You Use for Running it Underground?
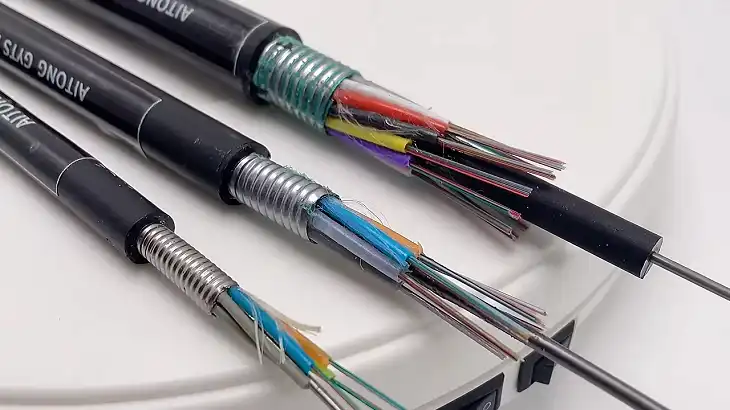
Before starting, choosing the correct fiber optic cable for burial is crucial. The two main categories to consider are Direct Buried Cable (DBC) and Conduit-Based Cable.
- Direct Buried Cable is specifically designed for underground use, with a rugged, moisture-resistant jacket and added layers to protect against environmental stress and physical damage.
- Conduit-Based Cable involves placing the fiber optic cable inside a protective conduit. This method is more versatile and offers better long-term protection, allowing for future upgrades or replacements without digging.
Direct Buried Cable is often used for shorter distances and small projects, while Conduit-Based Cable is ideal for extensive installations, providing additional shielding from moisture, pests, and mechanical wear.
What Are the Recommended Burial Depths?
Burial depth is a critical aspect of any fiber optic installation. The standard recommended depths vary based on several factors like location, type of soil, and local building codes. Generally:
- Residential Areas: The burial depth should be 12 to 24 inches.
- Commercial and Industrial Areas: A depth of 36 inches is more appropriate.
- Roadway Crossings: In high-traffic zones, bury the cable at a depth of at least 48 inches to avoid accidental damage.
How to Prepare for Trenching?
Trenching is the process of digging the channel where the cable will be placed. The dimensions of the trench depend on the type of cable, soil condition, and additional protective materials being used. Start by marking the designated area where the cable will run, ensuring you comply with local codes and avoid utility lines.
- Width of Trench: For most residential or small commercial projects, a 2-4 inch wide trench is adequate.
- Depth: As mentioned, follow the depth guidelines according to the project requirements.
- Slope and Curvature: Make sure to maintain a smooth, gradual curve for the trench, avoiding sharp bends to prevent excessive stress on the fiber optic cable.
Should You Use Conduits for Added Protection?
Conduits are optional for fiber optic installations but highly recommended for additional safety and ease of maintenance. A PVC or HDPE (High-Density Polyethylene) conduit with a minimum diameter of 1.5 inches is ideal for most applications. Conduits protect the cable from rodent damage, moisture intrusion, and future ground movement.
If using conduits:
- Place the conduit in the trench, ensuring that joints are securely fitted and sealed.
- For longer runs, install pull boxes every 500 to 1000 feet to ease future cable pulling and maintenance.
How to Lay the Cable Properly?
With the trench and conduit (if used) ready, it’s time to lay the cable. This step requires attention to detail and should be done carefully to avoid stretching, kinking, or damaging the fiber optics.
- Start from the Feed Point: Begin laying the cable at the designated feed point (e.g., the main server room or terminal box).
- Maintain Slack: Leave some extra slack at the starting and ending points. This ensures that minor adjustments can be made if needed.
- Avoid Sharp Bends: Keep the cable’s bending radius at a minimum of 20 times the diameter of the cable. For example, if the cable is 0.4 inches in diameter, the bending radius should be at least 8 inches.
- Prevent Cable Strain: Use appropriate supports and ensure no tension is placed on the cable during installation.
How to Backfill the Trench Safely?
Once the cable is laid, the next step is to backfill the trench. This step involves filling the trench with soil, gravel, or a combination of both to protect the cable and restore the ground surface.
- Initial Layer: Use a 2-3 inch layer of sand or fine gravel to cover the cable. This provides a soft buffer and prevents direct contact with rocks or sharp debris.
- Second Layer: After the initial covering, backfill with native soil up to ground level. Compact the soil gently to avoid creating air pockets that could lead to soil shifting.
For areas with a high risk of mechanical damage, consider adding warning tape about 6-12 inches above the cable. This serves as an additional precaution for future excavation work.
How to Test and Validate the Installation?
Once the burial is complete, it’s essential to test the fiber optic cable to ensure there’s no damage and that the signal is intact. Use an Optical Time Domain Reflectometer (OTDR) to check for any signal loss or breaks in the cable. This tool can pinpoint the exact location of any issues, allowing for quick repairs if needed.
- Signal Loss Tolerance: The acceptable loss is typically around 0.3 dB per kilometer for single-mode fibers.
- Reflection Testing: Any sudden spikes in the OTDR graph indicate potential bends or imperfections.
How Much Does It Cost to Bury Fiber Optic Cable?
The cost of burying fiber optic cable varies significantly based on the project’s scale, depth requirements, and type of protection used. Below is a general cost breakdown:
| Item | Cost per Foot | Cost for 1000 Feet |
| Fiber Optic Cable | $1.00 – $5.00 | $1,000 – $5,000 |
| Trenching | $5.00 – $15.00 | $5,000 – $15,000 |
| Conduit (Optional) | $2.00 – $4.00 | $2,000 – $4,000 |
| Backfilling and Compacting | $1.00 – $3.00 | $1,000 – $3,000 |
| Testing and Validation | $0.50 – $1.50 | $500 – $1,500 |
This table provides a rough estimate, but always consult with a professional for a more accurate quote based on your specific installation needs.
What Are the Potential Challenges When Burying Fiber Optic Cable?
Burying fiber optic cable comes with several challenges, including:
- Water Intrusion: Moisture can severely damage fiber optics. Use waterproof cables and conduits in areas with high water tables.
- Rodent Damage: In rural areas, rodents may chew through cables. Consider adding a metal tape shield or installing rodent-resistant cables.
- Mechanical Stress: Excessive bending, pulling, or strain can cause micro-bends in the fiber, leading to signal loss. Always handle the cable with care and use proper support.
What Maintenance Should You Perform After Burying the Cable?
Proper maintenance can prolong the life of your underground fiber optic network. Regular inspections, particularly at junction boxes and pull points, are recommended. Check for soil erosion, moisture intrusion, and any signs of damage. Annual testing using OTDR can help identify minor issues before they become costly repairs.
In summary, burying fiber optic cable requires a comprehensive approach, from selecting the right cable to adhering to local regulations and ensuring optimal installation practices. By following the guidelines outlined above, you can ensure a secure, long-lasting fiber optic network that delivers reliable performance for years to come.

