How to Install Cable Trays for Network Cabling?
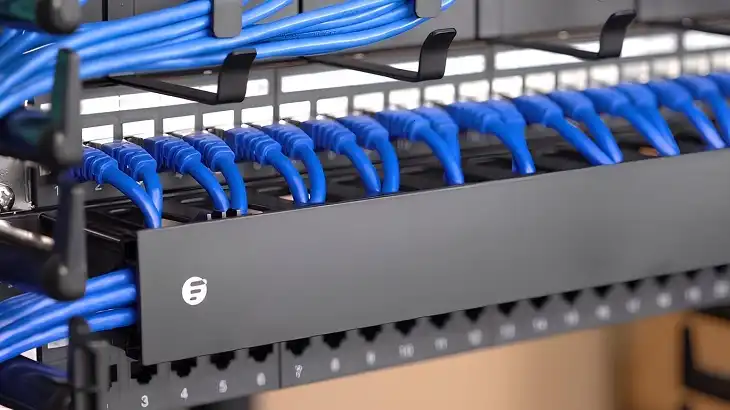
Cable trays are a powerful solution for organizing network cables in offices, data centers, and industrial spaces. By following this guide, you’ll understand each step to set up a cable tray system that keeps network cables safe, accessible, and easy to manage. This guide provides detailed instructions, including tools, safety tips, and essential background knowledge to help you get the job done right.
Why Use Cable Trays for Network Cabling?
Installing cable trays offers a straightforward answer to the mess of tangled network cables. Cable trays bring order, simplify maintenance, and reduce the risk of damage. Network cables are prone to wear and disruption without proper organization, especially in larger setups. Cable trays ensure that each line stays put, separated from power cables and free from clutter, which is crucial to avoid signal interference and keep air circulating around cables to prevent overheating.
Types of Cable Trays: Which One Do You Need?
Choosing the right cable tray depends on the environment, the volume of cables, and safety needs. Here are some of the most common types, each with unique benefits:
- Ladder Cable Trays: Ideal for areas requiring frequent cable adjustments, these trays have rungs that offer ventilation and easy cable exit points.

- Solid-Bottom Cable Trays: These fully enclosed trays shield cables from dust and debris but limit ventilation. They’re great for sensitive cabling but require caution to avoid heat build-up.
- Perforated Cable Trays: With small perforations for airflow, these trays balance protection and ventilation, making them versatile for most setups.
- Wire Mesh Cable Trays: Lightweight and flexible, wire mesh trays are easy to install and adjust. They’re particularly useful for low-voltage network cabling in office settings.
Each tray has a load capacity rating based on the weight it can bear per linear foot. Calculate your load carefully to avoid overloading, as this could lead to sagging or, worse, system failure.
Preparing for Cable Tray Installation
To start, gather all necessary tools and materials to avoid interruptions. For a smooth setup, you’ll need:
- A drill, screwdriver, level, and measuring tape
- Mounting brackets, bolts, and cable tray sections
- Cable ties for securing cables
Safety first—working with cables and metal trays calls for protective gloves, eye protection, and a well-lit workspace. Some installation scenarios may also require adherence to local or industry codes, particularly in commercial or industrial spaces.
Planning the Cable Tray Pathway
A well-planned tray path saves future hassle, minimizes costs, and avoids interference with other systems. Start by mapping the installation area, marking out the tray path and noting obstacles such as ductwork or pipes. Avoid electrical conduits where possible to reduce electromagnetic interference with network cabling.
Load Calculation Table (Per Foot)
| Tray Type | Max Load Capacity (lbs) | Recommended Use |
| Ladder | 200 | Data centers, large cable bundles |
| Solid-Bottom | 150 | Dusty environments, sensitive cables |
| Perforated | 180 | Mixed environments |
| Wire Mesh | 100 | Office settings, low-voltage cables |
How to Install Cable Trays for Network Cabling
- Mark the Tray Path and Mounting Points
Start by marking the walls or ceiling for bracket placement along the tray path. Spacing matters: brackets should be about four to six feet apart, ensuring adequate support for the tray and cables. Use a level to keep the path straight.
- Install Mounting Brackets and Supports
Begin attaching mounting brackets at the marked points, ensuring they’re tightly secured. Use wall anchors or ceiling hangers as needed, depending on the surface. Double-check alignment before tightening each bracket fully.
- Assemble the Cable Tray Sections
Lay out your tray sections on the floor, connecting them with bolts. Once assembled, lift the sections into place on the mounting brackets. This step may require a second person to help hold the tray steady.
- Secure the Tray to the Mounting Brackets
Attach the tray to the brackets, ensuring that each bolt is secure and tightened. A loose tray can shift over time, causing cable strain or even falling hazards, so this step is crucial.
- Ground the Cable Tray System
Grounding prevents static buildup, which can damage network equipment. Use a grounding lug to connect the tray to an electrical ground point. Proper grounding is vital in data centers or large installations.
- Run Network Cables Through the Tray
Lay cables in the tray, starting from the point nearest the server or router and working outward. Avoid crossing cables unnecessarily, as this can lead to tangling and interference. Keep data cables separate from power lines to avoid electromagnetic interference.
- Secure Cables with Cable Ties
Use cable ties to gently secure bundles, avoiding over-tightening, which could damage the cable insulation. Position the ties about every three feet for support without restricting movement.
Post-Installation Checks and Testing
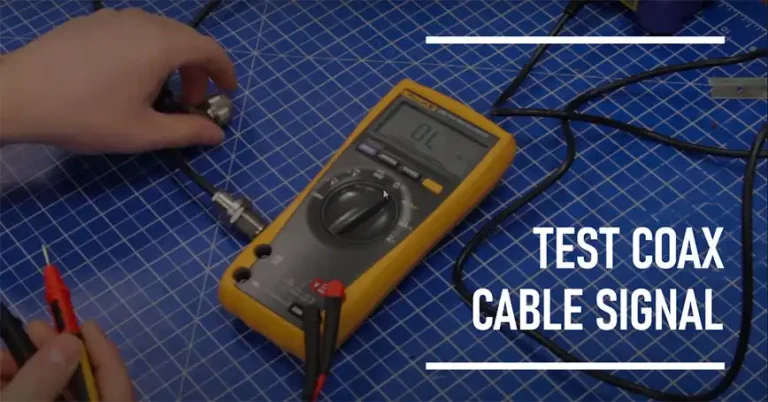
Once installed, conduct a thorough inspection. Check that all bolts are secure, cables are neatly arranged, and grounding is complete. Next, test network connections to ensure signal quality. A network tester can help detect any issues before you complete the setup. Label each cable path for easy identification and record this information for future maintenance.
Maintenance Tips for Cable Tray Systems
Regular inspection of your cable tray system can extend its life and maintain efficiency. Clean dust or debris from solid-bottom trays every few months, and check for signs of corrosion, particularly in industrial environments. If you add new cables, consider removing or reorganizing old ones to avoid overcrowding. Periodically test network performance, as physical cable damage can lead to weak or intermittent connections over time.
Frequently Asked Questions (FAQs)
What is the best cable tray for network cabling?
For most network cabling, wire mesh trays work well, as they’re easy to install and provide flexibility. For high-volume setups, ladder trays may be better suited due to their strength and ventilation.
How much weight can a cable tray hold?
This varies by tray type, but most trays hold between 100–200 pounds per linear foot. Refer to the manufacturer’s guidelines for specifics.
Is grounding necessary for all cable tray systems?
Yes, grounding prevents static buildup, which can damage network equipment over time. Grounding is especially important in areas with large volumes of cables.
How far apart should mounting brackets be placed?
Mounting brackets should generally be spaced about 4–6 feet apart, depending on the load and tray type.
Can I install cable trays by myself, or do I need a professional?
While a DIY approach is possible for smaller installations, larger or complex setups benefit from professional expertise, especially to meet safety codes and prevent grounding issues.

