How to Terminate a Cat6 Wall Socket?
Cat6 cables power high-speed, modern networks, making them the backbone of efficient communication systems at home and in the office. Properly terminating a Cat6 wall socket is crucial to achieving a stable, interference-free connection. This article takes you through each step, from understanding the essentials and choosing the right tools, to troubleshooting common problems. Whether you’re a DIY enthusiast or a network technician, this guide will help you achieve professional results with your Cat6 wall socket termination.
How Cat6 Cables and Wall Sockets Work
Cat6 cables, designed for speeds up to 10 Gbps over shorter distances, provide an upgrade over Cat5 and Cat5e with more bandwidth and reduced crosstalk. In structured cabling, Cat6 cables often end in keystone jacks and wall plates. These jacks let you plug devices into the network from various rooms while keeping everything tidy.
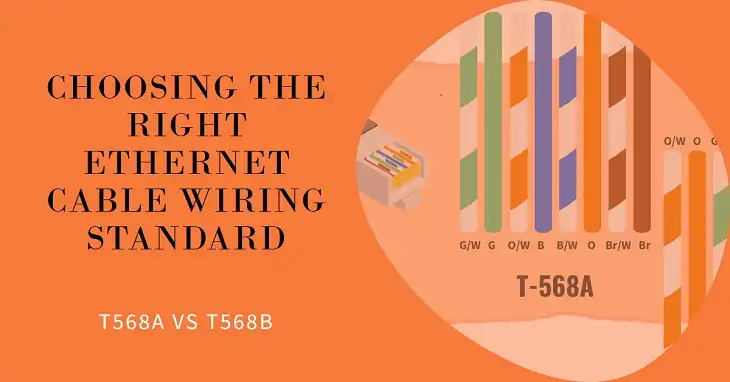
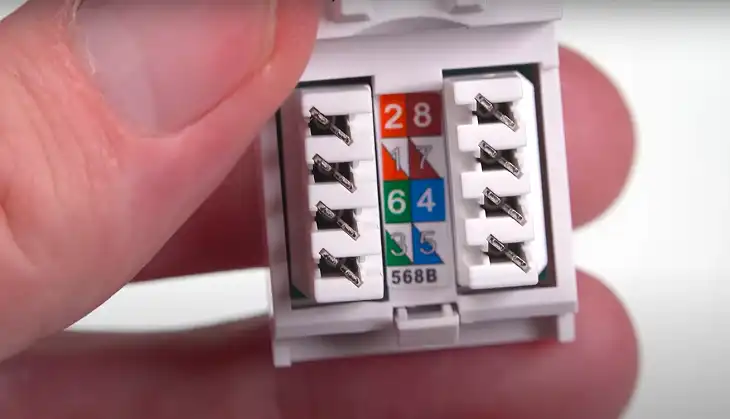
Two wiring standards are common for terminating Cat6 cables: T568A and T568B. Both perform equally well, but T568B is more popular in the U.S., while T568A is standard in many government installations. Choosing one and sticking with it is best to maintain uniformity in your setup.
Essential Tools for Terminating a Cat6 Wall Socket
Having the right tools can mean the difference between a flawless connection and one that needs constant re-terminating. Here’s what you’ll need, along with tips on choosing the best equipment for your needs.
- Cable Cutter and Stripper: Select one that works specifically for Cat6 cables, as these are thicker and sturdier than Cat5 cables.
- Punch-Down Tool: Impact and Krone are two types to consider. Impact tools are adjustable for pressure, making them safer for delicate wires, while Krone tools are more robust.
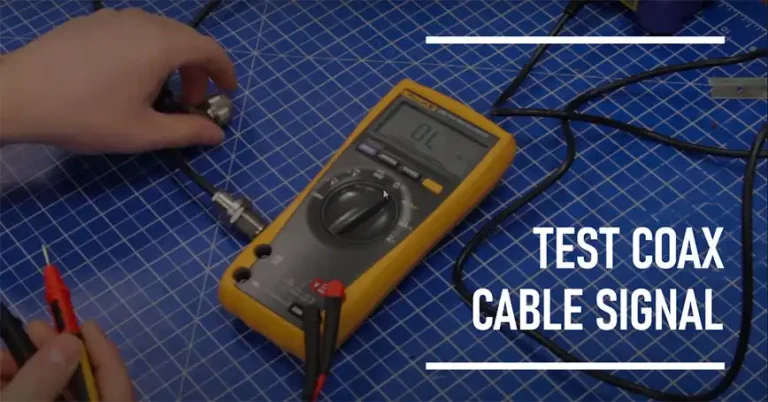
- Cable Tester: Basic testers check for continuity (whether the wires connect properly from end to end), but advanced testers also show speed and signal strength, which can be helpful for high-performance networks.
- Keystone Jacks and Wall Plates: Choosing between shielded and unshielded depends on your installation needs. Shielded jacks are ideal for areas with lots of electrical interference, like near power lines or heavy machinery. Unshielded jacks work well in low-interference environments like home networks.
A Look at Tools by Price and Quality
| Tool | Price Range | Quality Recommendation |
| Punch-Down Tool | $10 – $50 | Look for adjustable, durable tools |
| Cable Tester | $15 – $100+ | Basic for DIY; advanced for businesses |
| Keystone Jacks | $5 – $15 (each) | Use shielded only in high-interference |
| Cable Stripper | $10 – $20 | Specific for Cat6 to avoid damage |
The quality of these tools matters. Spending a bit more on reliable, well-reviewed equipment can save you hours of frustration down the line.
Step-by-Step Guide: How to Terminate a Cat6 Wall Socket
Follow this process to achieve a clean, stable connection:
Step 1: Measure and Cut the Cable
Measure the cable length carefully, allowing some slack for easy installation. Avoid bending the cable tightly, as it can damage the copper pairs inside and reduce performance.

Step 2: Strip the Cable Jacket
Using a Cat6-compatible cable stripper, carefully strip about 2 inches of the outer jacket, exposing the twisted pairs without nicking or damaging them. Damaged wires won’t make solid contact, causing signal loss.

Step 3: Untwist and Arrange the Wires (T568A or T568B)
Select the wiring standard—T568A or T568B—based on your setup’s requirements. Arrange the pairs according to the color codes for your chosen standard. Leave the pairs twisted until as close to the termination point as possible to reduce crosstalk.

Step 4: Trim the Wires to a Uniform Length
Trim each wire to an equal length, about 0.5 inches from the edge of the jacket. Uniform length helps the wires seat securely in the keystone jack, preventing loose connections.
Step 5: Insert Wires into the Keystone Jack
Align each wire in the correct slot on the keystone jack according to the wiring standard. Make sure each wire reaches the bottom of its slot for a solid connection.

Step 6: Punch Down the Wires
Using the punch-down tool, press each wire into its designated slot. For impact tools, adjust the pressure to avoid damaging the wire while ensuring full contact. Double-check each connection to make sure the wires are snug.

Step 7: Secure the Cable to the Keystone Jack
If your keystone jack has a spot for a zip tie, secure the cable to prevent movement, which can loosen the connections over time.

Step 8: Install the Keystone Jack into the Wall Plate
Snap the keystone jack into the wall plate, and secure the wall plate to the wall box. This keeps everything neat and protected.

Testing and Troubleshooting
Testing is essential for a stable network. Use a cable tester to check for continuity, ensuring each wire is correctly connected from end to end.

Common Problems and Fixes
- Misaligned Wires: If the tester indicates a mismatch, recheck your color codes.
- Loose Connections: A connection might be intermittent if a wire didn’t punch down fully. Re-punch it securely.
- Interference Issues: If you’re in a high-interference area, consider switching to shielded keystone jacks.
A good tester will show you where issues occur, making troubleshooting a faster, more efficient process.
FAQs
Which wiring standard should I use, T568A or T568B?
Both are valid. Choose one and be consistent throughout your network.
Is it safe to use a Cat5 punch-down tool on Cat6 cables?
It’s possible, but a Cat6-compatible tool is better suited for the thicker cables.
Can I test termination without a cable tester?
While possible, a tester provides the clearest picture of your connection’s stability.
Are there differences between terminating wall sockets and patch panels?
Yes, though they’re similar, patch panels require more planning due to their larger scale.
How often should I inspect or re-terminate wall sockets?
For home use, every few years is sufficient. In high-use areas, more frequent checks may be needed.

