USB C to HDMI Not Working | Tips For Fixing This Common Issue
It can be incredibly frustrating when you’re trying to connect your device to an external display, but the USB-C to HDMI connection isn’t working. You’ve double-checked the cables, restarted your devices, and even tried a different HDMI port, but nothing seems to work. Don’t worry; you’re not alone in this struggle.
In this guide, I’ll discuss the common reasons why your USB-C to HDMI adapter might not be working and provide practical solutions to get your setup up and running again. So grab a cola, sit back, and read till the end!
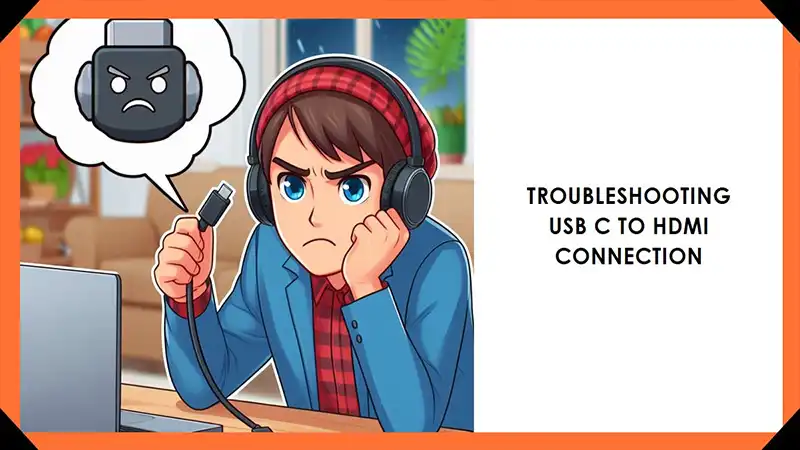
Reasons Why USB C to HDMI Adapter isn’t Working
It’s a common issue that many people face. In this section, we’ll explore the possible reasons behind this problem, making it easier for you to understand what might be causing the issue.
The Computer’s USB-C Port Doesn’t Support DP Alt Mode
One of the most common reasons for a USB-C to HDMI connection failure is that the USB-C port on your computer doesn’t support DisplayPort Alt Mode (DP Alt Mode). This mode enables the USB-C port to transmit video signals, allowing you to connect your device to an external display.
USB-C is a versatile connector that can handle various tasks, including data transfer, charging, and video output. However, not all USB-C ports are created equal. Generally, USB 3.1 and later versions of USB-C support DP Alt Mode, which is essential for streaming video signals. If your computer has an older USB-C port, such as USB 3.0 or lower, it may not have this capability, causing the connection to fail.
To determine if your USB-C port supports DP Alt Mode, you can check the specifications of your device or consult the manufacturer’s documentation. If your USB-C port doesn’t support this mode, you’ll need to explore alternative solutions, which we’ll cover later in this article.
The Cable or Adapter is Not Working Properly
Another potential culprit could be a faulty cable or adapter. USB-C to HDMI cables and adapters are not created equal, and some may not be compatible with your devices or may have manufacturing defects that prevent them from functioning correctly.
When it comes to cables and adapters, it’s essential to use high-quality products from reputable brands. Cheap or counterfeit cables and adapters can cause connectivity issues, signal degradation, or even damage your devices.
If you suspect that the cable or adapter is the source of the problem, try using a different one to see if it resolves the issue. Additionally, inspect the cables and adapters for any physical damage, such as bent pins or frayed wires, which could contribute to the connection failure.
Backdated USB-C to HDMI Driver
Outdated or incorrect drivers can also cause issues with the USB-C to HDMI connection. Drivers are software components that allow your operating system to communicate with hardware devices, such as your USB-C port or graphics card.
If the drivers for your USB-C port or the graphics card are not up-to-date or are incompatible with your system, it can lead to compatibility problems and prevent the connection from working as expected.
Ensuring that your drivers are up-to-date is crucial for maintaining optimal performance and avoiding potential issues. Manufacturers regularly release driver updates to address bugs, improve compatibility, and enhance functionality.
What to Do to Make the USB C to HDMI Adapter Functioning?
Now that you know the potential reasons behind the USB-C to HDMI connection failure, it’s time to explore some solutions. Here are the things you can try to solve such issue!
Convert USB-C 2.0 to USB-C 3.1 or Higher
If your computer has an older USB-C port that doesn’t support DP Alt Mode, you can upgrade it to a newer version by installing a USB 3.1 or higher PCI card. This involves a few steps:
- Install a USB 3.0 PCI card: Purchase a USB 3.0 PCI card and install it into a PCI expansion slot on your computer. This card will provide you with additional USB ports that support the latest USB standards.
- Plug in USB cables: Connect your USB 2.0 cables to the new card’s headers. This will allow your older USB devices to take advantage of the faster data transfer rates and additional features offered by the newer USB standard.
Alternatively, you can use a USB 3.1 hub, which can provide the necessary DP Alt Mode support to enable video output over USB-C. Simply connect the hub to your computer’s USB-C port, and then connect your HDMI cable or adapter to the hub.
It’s important to note that not all USB hubs support DP Alt Mode, so be sure to check the specifications before making a purchase.
Check with Different USB-C Port
If your computer has multiple USB-C ports, try connecting the HDMI cable or adapter to a different port. Some USB-C ports may be dedicated to specific functions, such as data transfer or charging, while others may support video output.
Manufacturers often label or color-code the USB-C ports to indicate their intended purpose. Consult your device’s documentation or manufacturer’s website to identify which USB-C ports support video output.
Switching to a different port could resolve the issue if the initial port you were using doesn’t support video output or has a hardware problem.
Update the USB-C to HDMI Driver
One of the potential culprits behind the USB-C to HDMI connection not working could be incorrect or incompatible device drivers. Outdated or faulty drivers can prevent your computer from properly recognizing and communicating with the connected devices, leading to connectivity issues. Fortunately, updating the USB-C to HDMI adapter driver might resolve the problem. Follow these steps to update the driver on your Windows computer:
Step 1: Access Device Manager
First, you’ll need to access the Device Manager, a utility that allows you to view and manage the hardware devices connected to your computer. To do so, right-click on the Windows icon located on your taskbar and select the Device Manager option from the contextual menu.
Step 2: Locate the USB Device
Once the Device Manager window opens, expand the Other Devices section. This section typically lists devices that Windows has detected but doesn’t have the appropriate drivers installed for. Look for your USB device listed here and right-click on it. From the menu, select the Update Driver option.
Step 3: Update the Driver
After selecting Update Driver, you’ll be presented with two options: Search automatically for updated driver software. If you have the latest driver file provided by the manufacturer, choose the Browse my computer option and navigate to the location where you saved the driver file. Otherwise, select the Search automatically option, and Windows will attempt to search for and install the most compatible driver for your USB device.
Step 4: Wait for Installation and Restart
Follow the on-screen instructions to complete the driver installation process. Depending on your internet connection speed and the driver package size, the installation may take a few minutes. Once the installation is complete, restart your computer to ensure that the new driver is loaded and properly initialized.
After updating the USB-C to HDMI adapter driver and restarting your computer, try reconnecting the USB-C device to the HDMI display. If the issue persists, you may need to explore additional troubleshooting steps or consult the device manufacturer’s support resources for further assistance.
Remember, keeping your device drivers up-to-date is crucial for ensuring optimal performance and compatibility. Manufacturers regularly release driver updates to address known issues, improve functionality, and enhance overall system stability.
You Got This!
By following these steps, you should be able to fix your USB-C to HDMI connection and enjoy that big screen again. Remember, a little troubleshooting can go a long way! If you try all of this and it still doesn’t work, don’t hesitate to reach out to the company that made your computer or adapter for more help.
