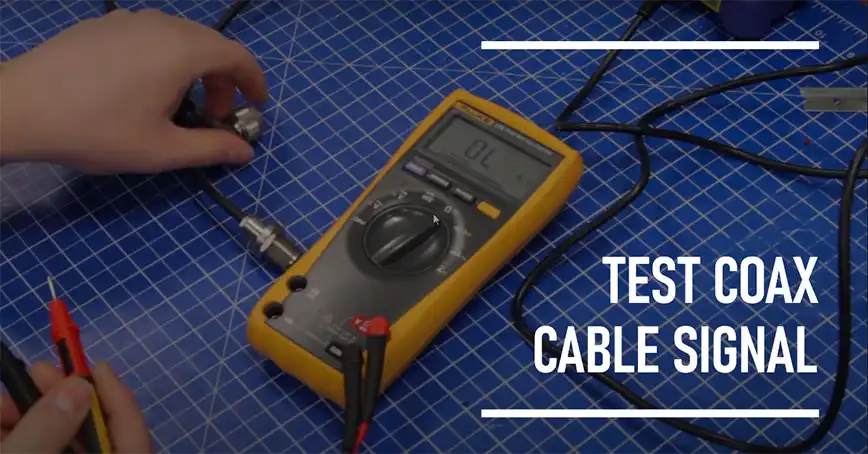
How to Test Coax Cable Signal with a Multimeter | Explained
A coaxial cable, commonly known as a “coax cable,” is a type of cable used for transmitting radio frequency (RF) signals. It consists of a central conductor surrounded by an insulating layer, a braided shield, and an outer protective jacket. This shielded design helps prevent electromagnetic interference and signal leakage, ensuring reliable signal transmission.
A healthy coax cable is crucial for maintaining strong and uninterrupted signal quality, resulting in clear picture and data transmission. Faulty or damaged cables can lead to weak signals, disruptions, and even complete signal loss, affecting the performance of your TV, internet, or other connected devices.
That’s why it’s important to test coax cables to identify and troubleshoot signal issues. How to do it? That’s exactly what we’ll discuss in this article. Let’s begin.
Signs of a Faulty Coax Cable
Weak Signal Strength: One of the most common indicators of a faulty coax cable is a weak signal strength. This can manifest as:
- Blurry or pixelated TV picture
- Slow internet speeds
- Frequent dropped connections
No Signal: In severe cases, a damaged or defective coax cable can result in a complete loss of signal, leaving you with no TV or internet connection.
Intermittent Issues: Sporadic signal drops or a flickering picture can also be signs of a coax cable problem. These intermittent issues can be frustrating and challenging to diagnose without proper testing.
Tools Required to Test Coax Cables
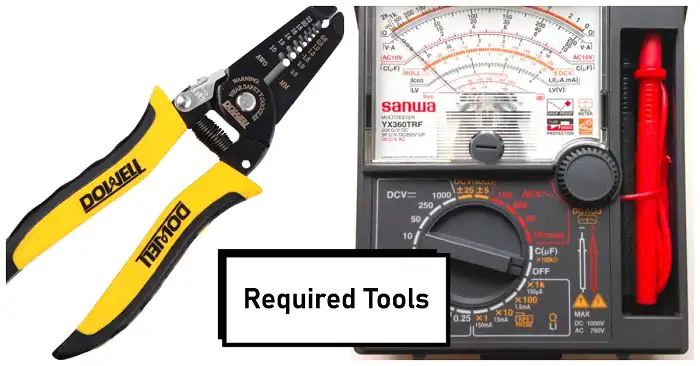
Multimeter
A multimeter is a versatile tool used to measure various electrical properties, including continuity and resistance. For testing coax cables, you’ll need a multimeter capable of measuring continuity or resistance (ohms).
Selecting the Right Multimeter Settings
Most multimeters have a dedicated continuity or ohms setting, often represented by a symbol that resembles a sound wave or the Greek letter omega (Ω). Consult your multimeter’s user manual to locate and properly select the appropriate setting for testing coax cables.
Wire Strippers
To expose the cable’s center conductor and shield for testing, you’ll need a pair of wire strippers. These tools allow you to safely remove a small portion of the cable’s insulation without damaging the internal components.
Safety Precautions
Before testing a coax cable, it’s crucial to de-energize all connected electronics. Turn off and unplug any devices, such as TVs, cable boxes, or modems, that are connected to the cable you plan to test. This step ensures your safety and prevents potential damage to the equipment.
While testing, be cautious and avoid touching any exposed wires or metal components, especially if the equipment is still powered on. Doing so can result in electrical shocks or damage to the devices.
Lastly, when using wire strippers to strip the cable insulation, handle them carefully to avoid accidentally damaging or cutting the center conductor or shield.
Preparing the Coax Cable for Testing
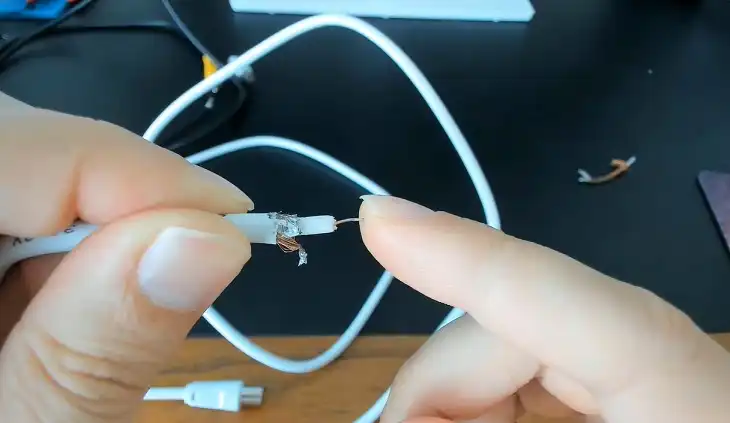
To test the continuity of a coax cable, you’ll need to expose the center conductor and shield at both ends of the cable. Use the wire strippers to carefully remove approximately 1/4 inch (6 mm) of insulation from each end.
As you strip the insulation, be cautious not to damage the center conductor. Gently pull the insulation away from the cable, revealing the center conductor and the braided shield surrounding it.
How to Test Coax Cable for Continuity (Center Conductor & Shield)
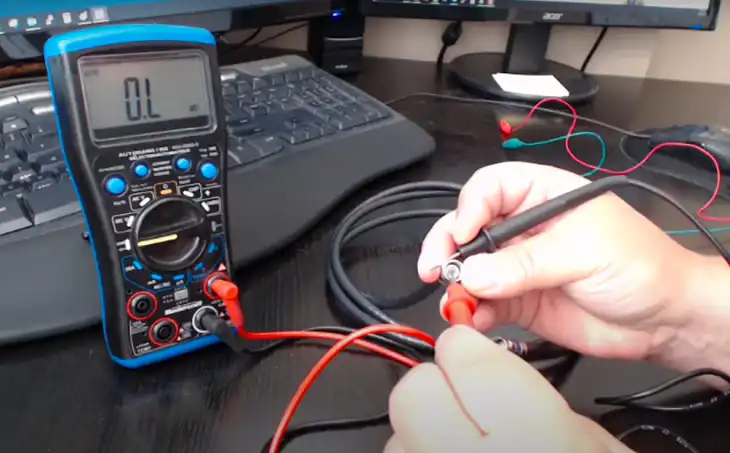
To test the continuity between the center conductor and the shield, touch one multimeter probe to the exposed center conductor at one end of the cable. Touch the other probe to the braided shield at the same end.
If the cable is in good condition, you should observe a low resistance reading on the multimeter, typically below 50 ohms, or hear a continuous beep sound, indicating continuity between the center conductor and the shield.
How to Test Coax Cable for Shorts (Center Conductor Touching Shield)
To check for potential short circuits within the cable, touch one multimeter probe to the exposed center conductor at one end and the other probe to the braided shield at the same end, but without applying excessive pressure.
Expected Ideally, there should be no continuity (infinite resistance or no beep sound) between the center conductor and the shield when tested in this manner. Any continuity reading suggests a short circuit within the cable, which can disrupt the signal and cause performance issues.
Interpreting the Results
Low Resistance: A low resistance reading on the continuity test confirms a good connection between the center conductor and the shield, indicating a healthy cable.
High Resistance or No Reading: High resistance or no reading might suggest a broken center conductor, loose connection, or internal damage within the cable, which can cause signal degradation or loss.
Continuity Between Center and Shield: If you observe continuity between the center conductor and the shield when testing for shorts, it signifies a short circuit within the cable. This condition can disrupt the signal transmission and should be addressed by replacing the cable.
Alternatives to Multimeter Testing
Visual Inspection: Before conducting any electrical testing, it’s a good practice to visually inspect the coax cable for any obvious signs of physical damage, such as cuts, fraying, or exposed wires. This preliminary step can sometimes provide insights into the cable’s condition and potential issues.
Signal Strength Apps (Limited Use): Some mobile applications claim to measure signal strength using the phone’s antenna. While these apps can provide a rough estimate, their accuracy might be limited compared to dedicated signal measurement tools. Use them with caution and consider professional testing for more reliable results.
How to Maintain Your Coax Cables
Here are some additional maintenance tips for coax cables:
Proper Cable Handling and Storage:
- Avoid excessive bending or kinking of the cable during installation or use. Sharp bends can damage the internal conductors.
- Store unused cables in a clean, dry environment, away from extreme temperatures or moisture.
- Use cable management solutions like cable ties or raceways to keep cables organized and prevent unnecessary stress or tangling.
When to Replace Coax Cables:
- Replace cables that fail the continuity or short circuit tests, as they are likely damaged and cannot transmit signals properly.
- Consider replacing older cables if you notice a consistent degradation in signal quality, even after testing and connector replacement.
- Replace cables with visible physical damage, such as cuts, fraying, or severe kinks, as these can compromise the cable’s shielding and signal integrity.
Frequently Asked Questions
Can I use a multimeter to measure the actual signal strength of a coax cable?
No, multimeters are not designed to measure signal strength directly. They can only test for continuity and potential short circuits within the cable. To measure the actual signal strength, you’ll need specialized equipment like a signal level meter or a cable tester designed for that purpose.
What resistance range is considered acceptable for a good coax cable?
Generally, a resistance reading below 50 ohms is considered acceptable for a good coax cable connection. However, the lower the resistance, the better the signal quality.
Can I test coax cables without stripping the insulation?
No, you’ll need to expose the center conductor and shield at both ends of the cable to perform the continuity and short circuit tests accurately. Stripping a small portion of the insulation is necessary for the multimeter probes to make proper contact.
What should I do if the cable fails the continuity test but passes the short circuit test?
If the cable fails the continuity test but passes the short circuit test, it likely indicates a break or damage in the center conductor or shield. In this case, it’s recommended to replace the entire cable to ensure optimal signal transmission.
What is the recommended cable gauge for different applications?
The cable gauge (thickness) depends on the application and distance. Generally, RG-6 cables (thicker) are used for cable TV and satellite signals, while RG-59 (thinner) cables are suitable for shorter runs or closed-circuit TV systems. Consult a professional or refer to cable manufacturer guidelines for specific recommendations.